To create the database, you sign up for Oracle Cloud Always Free at https://www.oracle.com/cloud/free/
You can sign up for a trial account which gives you $300 worth of credits valid for 30 days.
First let’s create the Compartment “LAB1”. A Compartment is a container to isolate resources unde Oracle Cloud Infrastructure (OCI).
Create a Compartment
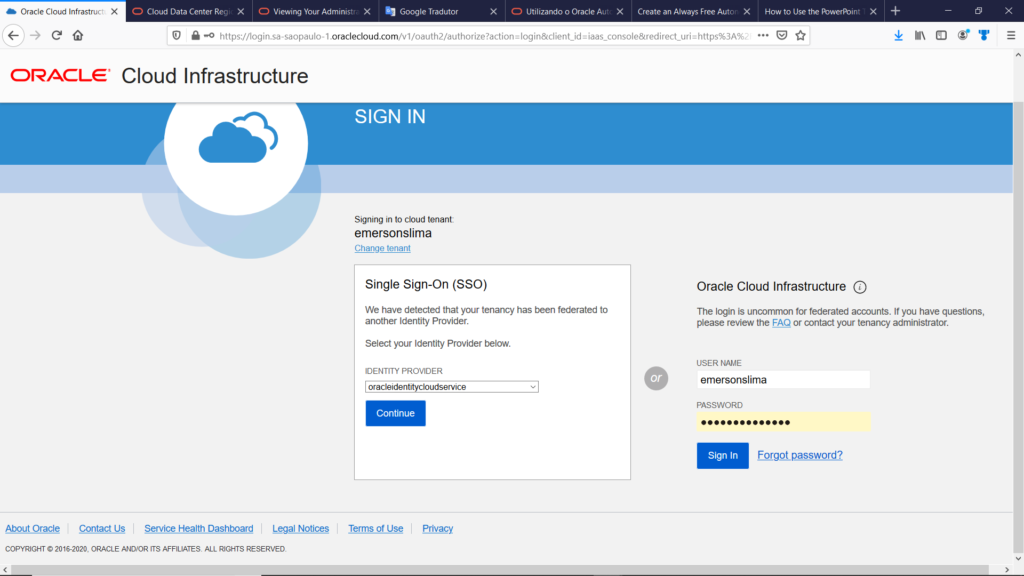
Log into the Oracle Cloud:
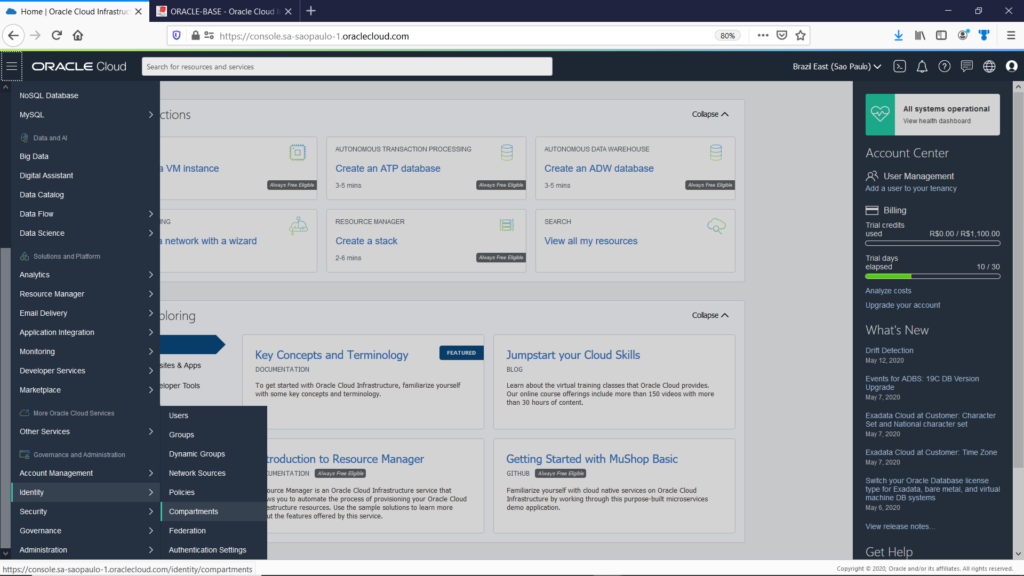
Select the “Identity > Compartments” option:
Enter the compartment name and description and click the “Create Compartment” button:

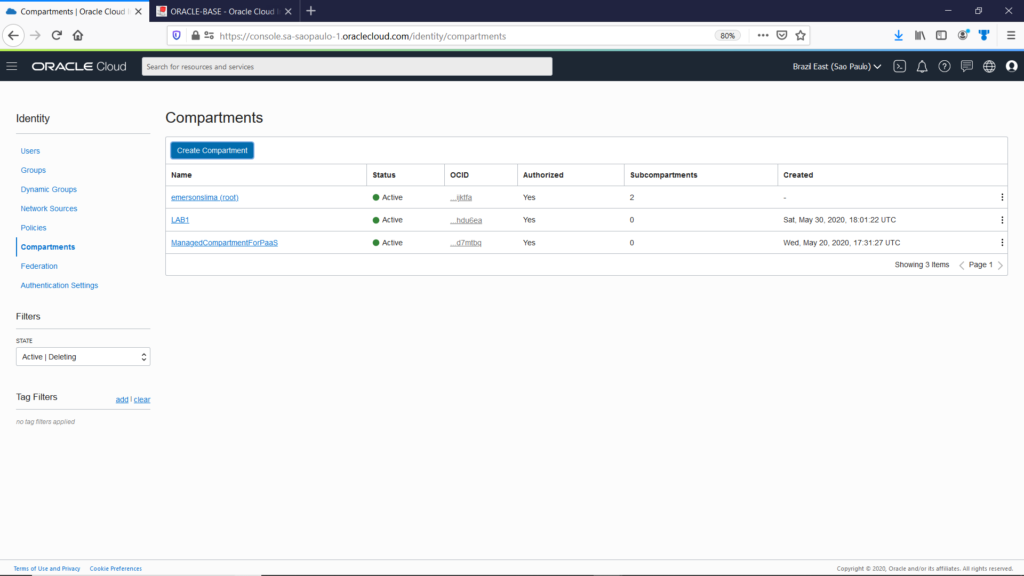
The new compartment LAB1 is now listed on the compartments dashboard:
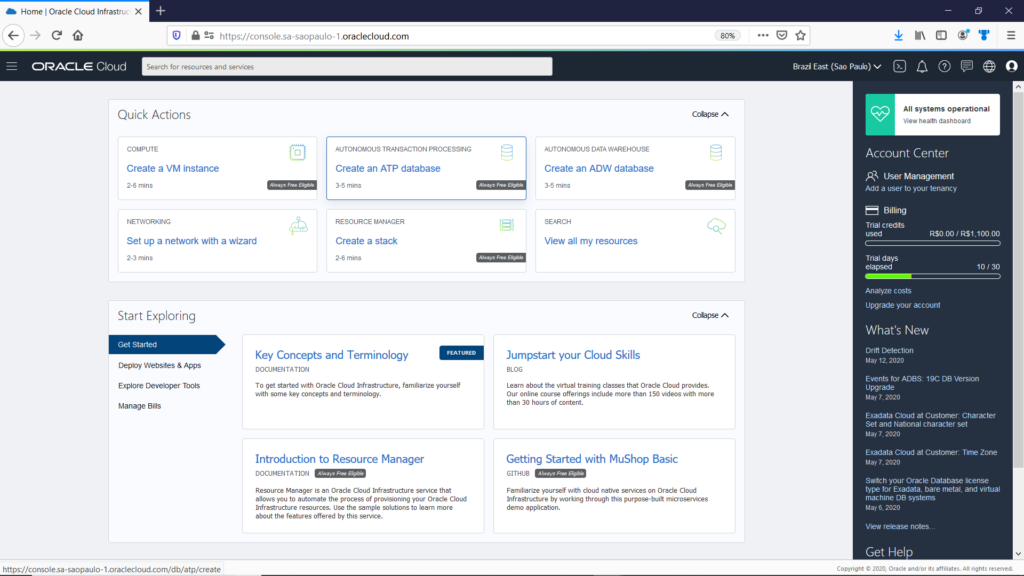
Create Autonomous Transaction Processing (ATP) database
Click on the “Create an ATP database”:
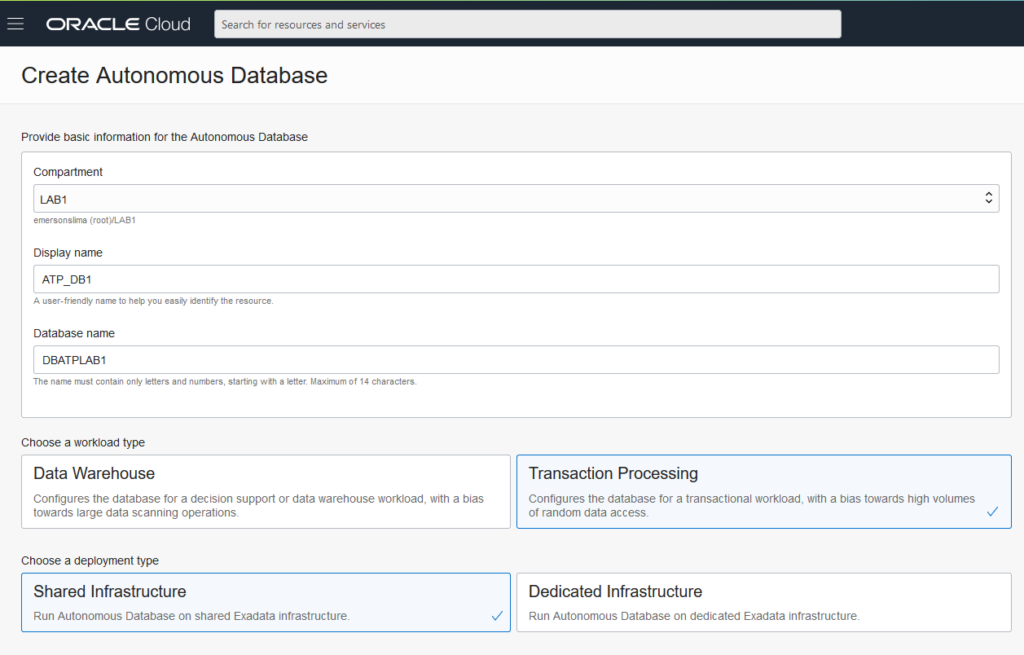
– Choose the compartment LAB1.
– Fill in the “Display Name” field. You can change this later.
– Fill in the “Database Name” field. You can not change this later.
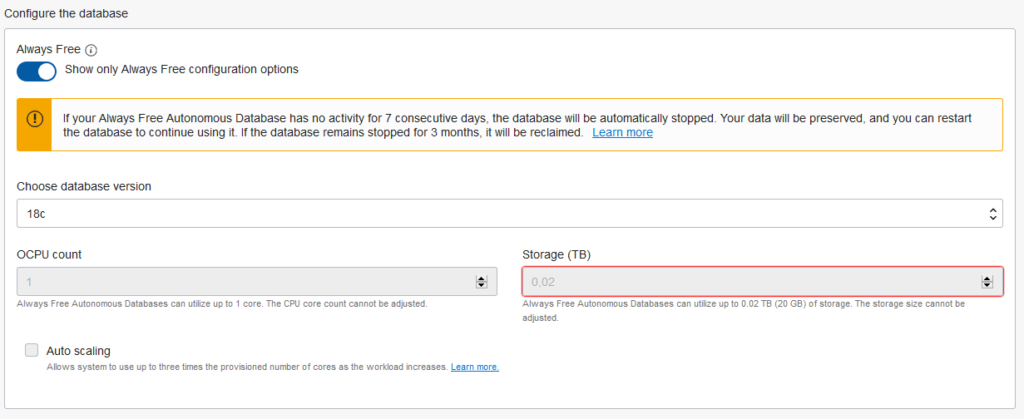
The default sizes are 1 CPU core and 1TB of storage. Remember to select the appropriate licensing model. If you are using the Free Tier account, select the “Always Free” option, to make sure you have the proper settings.
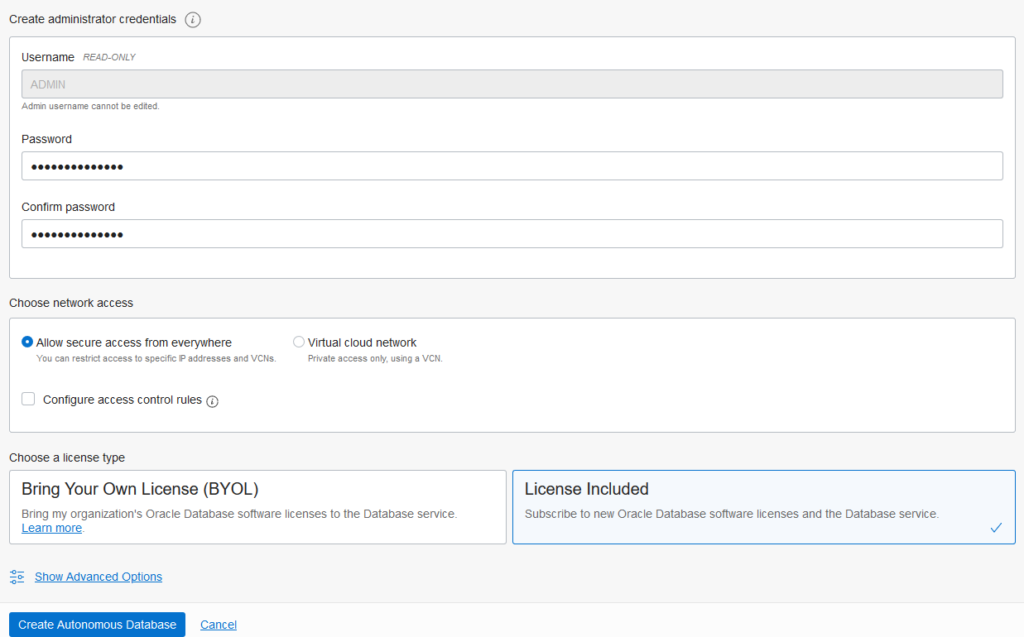
In “Create administrator credentials” section enter a password for your Admin account. You will use the Admin account to connect to your Autonomous Database instead of SYS or SYSTEM. Click the “Create Autonomous Database” button:
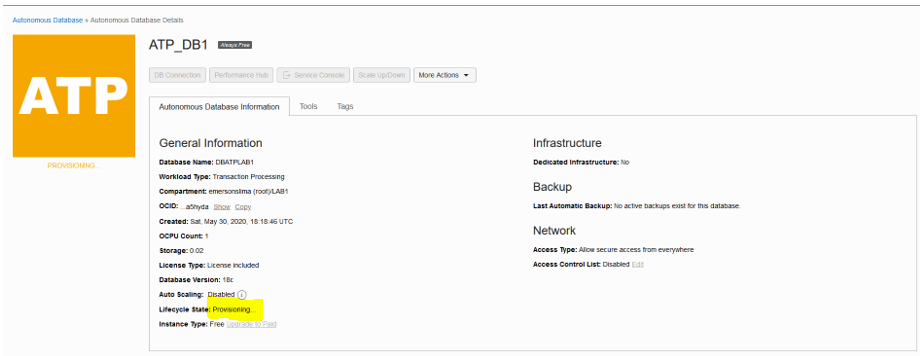
Your new ATP instance will be provisioned. You will see the state is marked as “Provisioning…”:
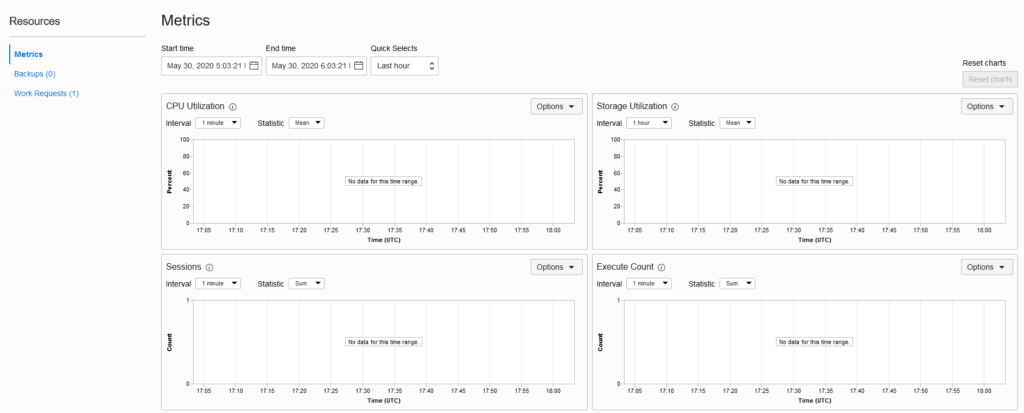

Once complete the state changes to “Available”. Click on the “Service Console” button:

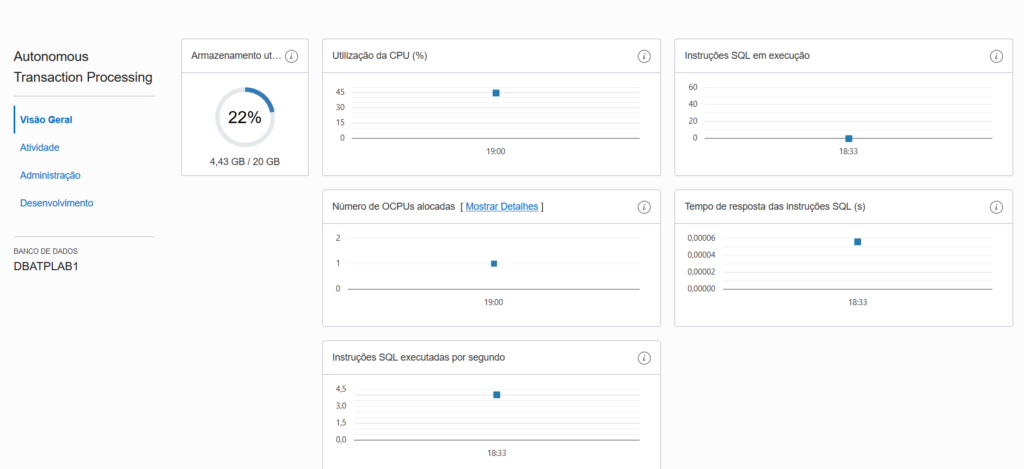
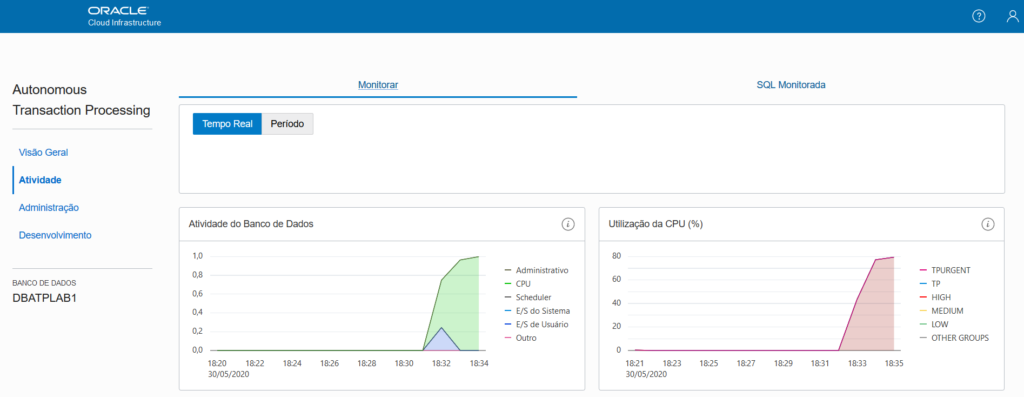
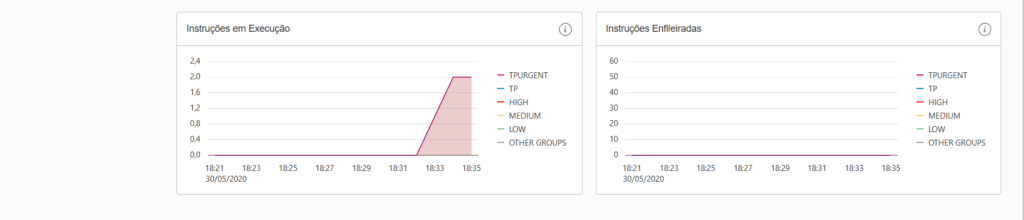
Click the “Activity” link to view the main activities of Autonomous Transaction Processing:
Connecting to the Autonomous Transaction Processing (ATP) Service Using SQL Developer
To access the service using SQL Developer it is necessary to download the Wallet:
Click on the “DB Connection” button:

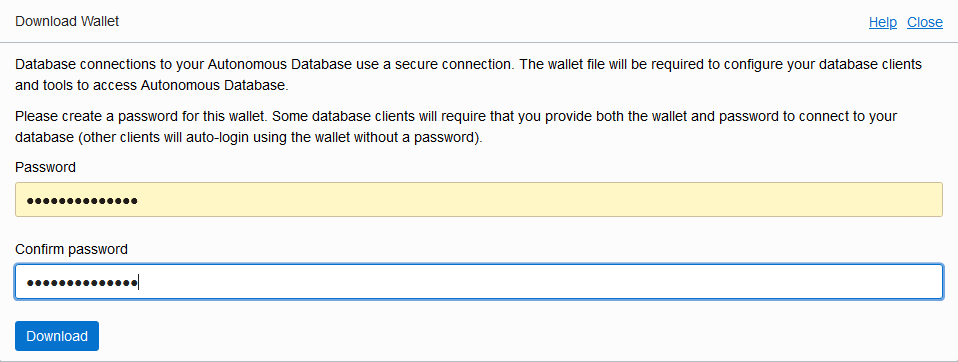
Click the “Download Wallet” button:
Create a password that will be used to access the .zip file. Click the “Download” button:
Save the .zip file to a secure location. This file is used to access your database.
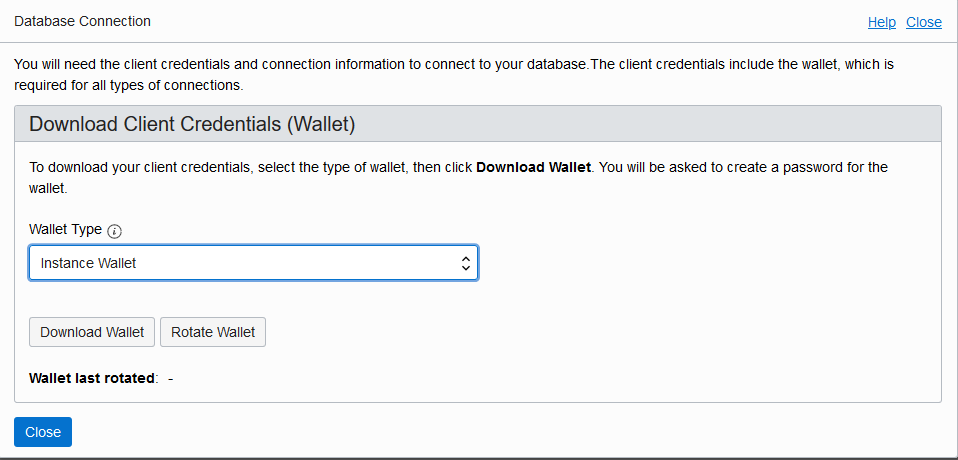
Another way to download Wallet is to access the “Service Console”:

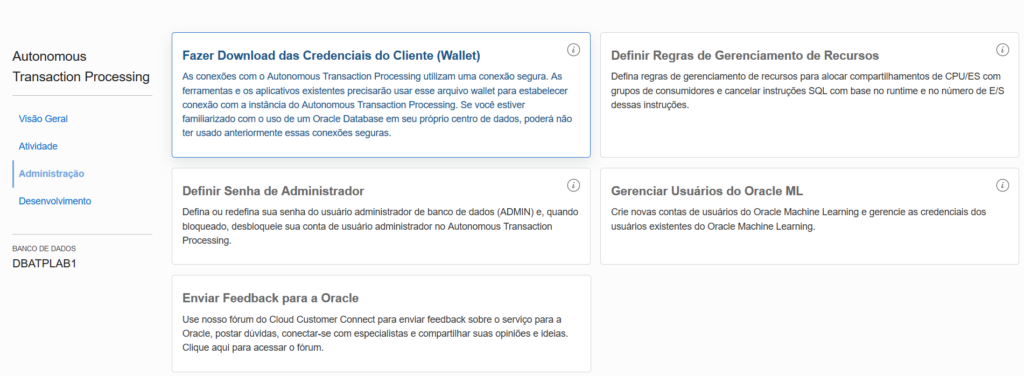
Once your in the “Service Console” click on “Administration” > “Download Client Credentials (Wallet)”:
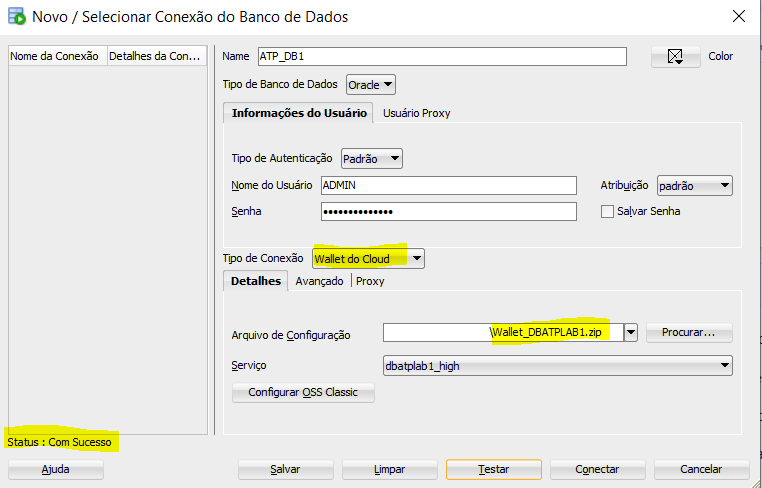
Open SQL Developer and create a new connection. Use the username and password specified when you provisioned the service. Use a connection type of “Cloud Wallet” and enter the zip file location. You can now click the “Test” or “Connect” button.